
If you run a WordPress site for any length of time, it’s bound to happen at some point – you’re going to run into an error. Most often, an error will pop up after you’ve made an update or inserted a code snippet somewhere.
Sometimes this occurs after using a third-party API or adding form variables. Other times, it happens when customizing a bit of HTML. Regardless, the panic that ensues can be a tad overwhelming. Understandably so!
However, just because an error occurs isn’t a cause to panic. In fact, all it means is it’s time to put on your problem-solving hat and get down to work. Today, we’ll be discussing the “The Link You Followed Has Expired” WordPress error, what triggers it, and what you can do to fix it should it occur.
Check Out Our Video Guide to Fixing “The Link You Followed Has Expired” Error
Let’s get started.
What Causes “The Link You Followed Has Expired” WordPress Error?
Most often, this common WordPress error occurs when you try to install or upload a plugin, theme, or media file into WordPress and something goes awry during that process. The error itself appears as follows:
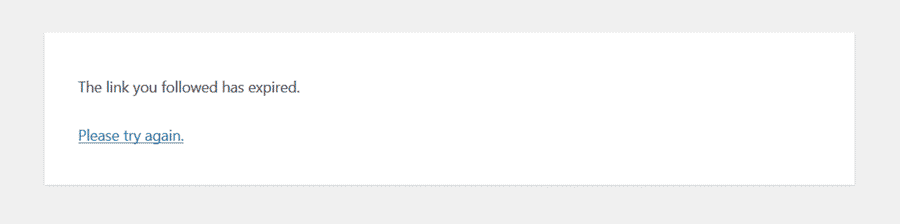
Unfortunately, the error text that’s displayed has nothing to do with the actual issue at hand, which is usually caused by uploading files that exceed the upload limit set by your web host. Web hosts usually offer an upload limit that’s large enough to avoid such an issue altogether, but that isn’t always the case – especially if you’re uploading a file that’s a bit larger than typical.
You can check this limit for yourself directly within WordPress. Simply navigate to Media > Add New and you should see the “Maximum upload file size” directly beneath the boxed-in area where you upload media files:
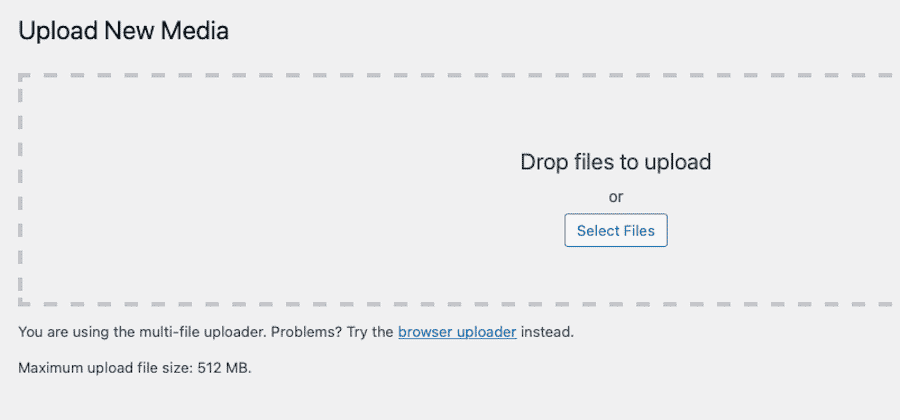
In the case of the website above, the maximum file size that can be uploaded is set to 512 MB, which is really rather large. A lower file size limit may be preferable if you have numerous site contributors and want to ensure image and/or video uploads are optimized for improved site performance.
Uploading other files (besides themes and plugins) will usually result in the “Maximum Execution Time Exceeded” error. The cause is the same, but you will see a different error in such an instance.
To be clear, if you see the “The link you followed has expired” WordPress error elsewhere or under different circumstances, it’s likely due to a plugin conflict of some kind.
This error text likely appears due to WordPress not having a way to handle this issue, and falling back on default error text.
How To Fix “The Link You Followed Has Expired” WordPress Error
Whether you need to upload a larger than standard theme or your web host has set your file size limit too low, you can easily fix the issue as you would with many other common errors: a few lines of code.
There are 4 primary ways you can resolve the “The link you followed has expired” WordPress error. But before we get to them, first conduct a bit of troubleshooting and information-gathering:
- Verify upload size vs. file size. If you tried to upload a file and were met with this error, make note of the size of the file. Then verify what your site’s current maximum upload limit is.
- Backup your WordPress site. Many of the solutions offered here involve editing your site’s code directly. To avoid potential issues, data loss, or additional errors, backup your site before attempting any fix.
Most of the fixes presented below involve manually changing a few values within your website’s core files.
- upload_max_filesize: This tells your website the maximum file size that it will accept for uploading.
- max_post_size: This tells your website the maximum file size for each blog post. If this limit is too low, increasing the file size limit won’t matter.
- max_execution_time: This tells your website the maximum amount of time it should spend attempting to upload a file.
If you change the upload_max_filesize value to something larger, you’ll need to modify max_execution_time, too as it stands to reason larger files take longer to upload.
Values to Use
It’s recommended that you set the values to the following:
- upload_max_filesize: 64 MB
- max_post_size: 64 MB
- max_execution_time: 300
You can set a higher file size limit if you regularly upload videos or super-high-resolution images. However, keeping it under 100 MB is typically best.
Sky-High Limits Should Be Avoided
It is important to note, however, that setting these values too high could cause problems. Keeping them as low as possible is thought to be the rule of thumb, and you should really only increase them enough to solve the issue.
Making a blanket adjustment and allowing for super large file uploads and long execution times is problematic for a number of reasons, including:
- It can slow your site down considerably when processing a large upload.
- It can bog down the backend of your site, which is an issue if multiple people work on it at once.
- Allowing larger files can give hackers more opportunities to upload malicious code or larger malware, neither of which is good.
Though allowing large file uploads won’t be an issue for most, it can present issues, so it’s important to bear the above in mind before deciding on an acceptable file size that works for your site.
If you attempt the methods described below and your WordPress site is still throwing the same error, the issue might be with your web host itself. In fact, they might have locked the upload values on their end. In such a situation, you’ll need to contact your web hosting provider directly about the issue.
In some cases, this may require that you upgrade your hosting plan to one that allows for larger file sizes. Or, you may even need to switch to a different web host that offers more resources.
Before navigating that potentiality though, you can try the quick fixes here:
Option 1: Use functions.php
One of the easiest ways to fix the “The link you followed has expired” error is to make a few quick changes to your site’s functions.php file. Accessing this is super easy.
Just navigate to the Theme File Editor that’s built into your WordPress site. You can get there by clicking on Appearance > Theme File Editor. When you click it, you’ll be taken to the theme’s stylesheet editor first:
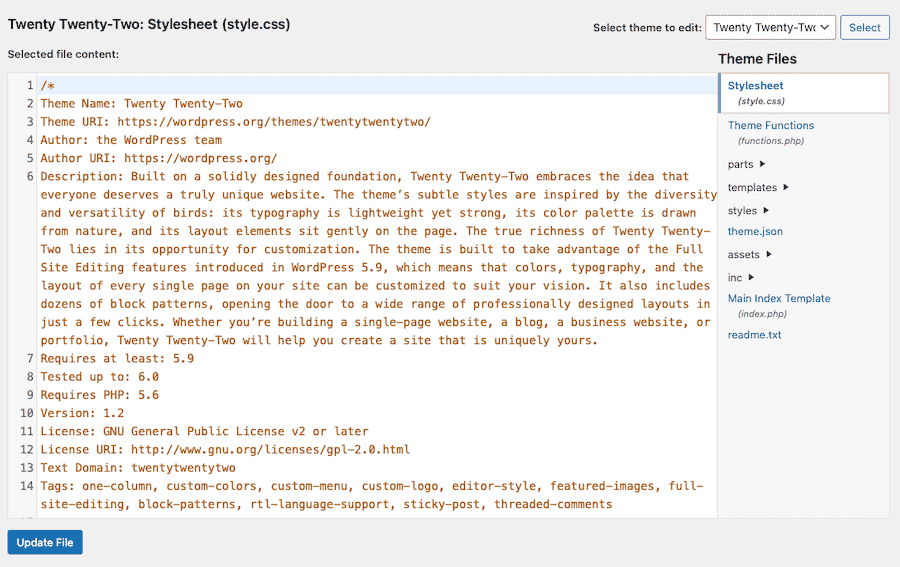
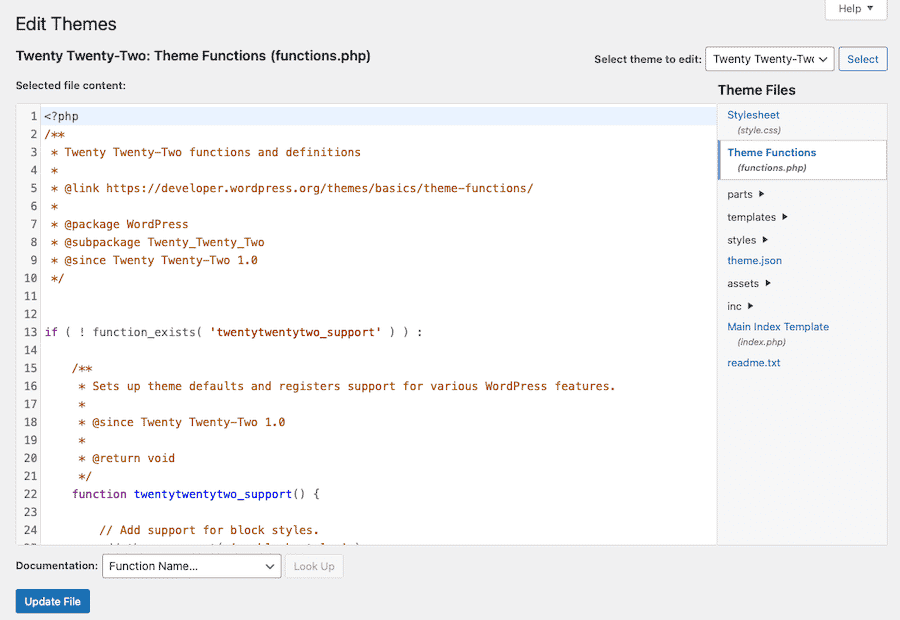
In this case, we’re editing the Twenty Twenty-Two theme. You should then click on the link that says Theme Functions on the right-hand side of the screen.
It’s easy to edit functions.php but you will need to bear in mind that your changes will be erased should you update your theme at some point. The same applies if you ever change your current theme. That’s why it’s recommended to use a child theme so code changes you make will be saved regardless of updates.
Once you’ve found the functions.php file, you just need to copy and paste a small code snippet into it to adjust the appropriate values for file size, post max size, and execution time. Here’s the code snippet:
@ini_set( 'upload_max_size' , '64M' );

@ini_set( 'post_max_size', '64M');

@ini_set( 'max_execution_time', '300' );
And it should look like this in the code:
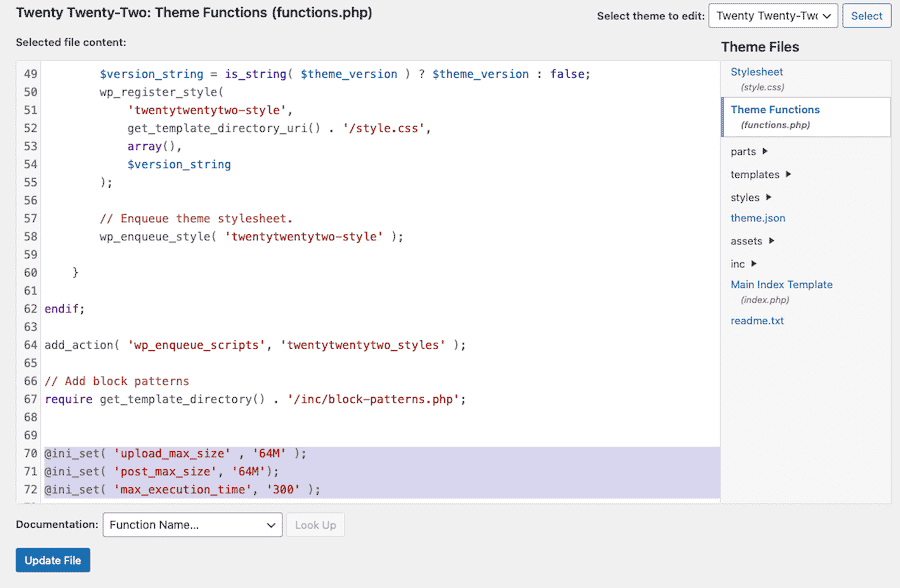
Once you’re happy with your changes, click Update File to save your changes. The error should be fixed at this time.
If you don’t want to mess around with a child theme, you can proceed to the next option, which is to edit the .htaccess file for your site. Regular WordPress updates will not overwrite this file, which means your edits are locked in place.
Option 2: Use .htaccess
Another way to fix this issue is to edit the .htaccess file. To change this one you’ll need to access your site’s files via FTP.
To start, log in to your hosting provider account and access the cPanel or File Manager. You can find the .htaccess file located in the root folder of your website’s directory. If you can’t find it, it might be currently hidden. To make it visible, select the public_html folder then click on Settings in the upper right-hand corner.
From there, check the box next to Show Hidden Files (dotfiles). Then click Save.

Once you’ve located the file, open it in your favorite text editor. Then paste the following lines of code at the bottom (adjusting the values as you see fit, of course):
php_value upload_max_filesize 64M

php_value post_max_size 64M

php_value max_execution_time 300

php_value max_input_time 300
Save your changes then upload the edited .htaccess file back to your site’s root directory. Then test your site again in the same way you did when you saw the error in the first place. The error should now be resolved.
Option 3: Use php.ini
Another way to fix the “The link you followed has expired” error is to make changes to php.ini. This is a good option for those who don’t want to deal with .htaccess in any way as well as a suitable choice for Kinsta users.
Access your site’s root directory as described above (login to your hosting provider, go to cPanel or File Manager, and view the root directory, i.e. public_html).
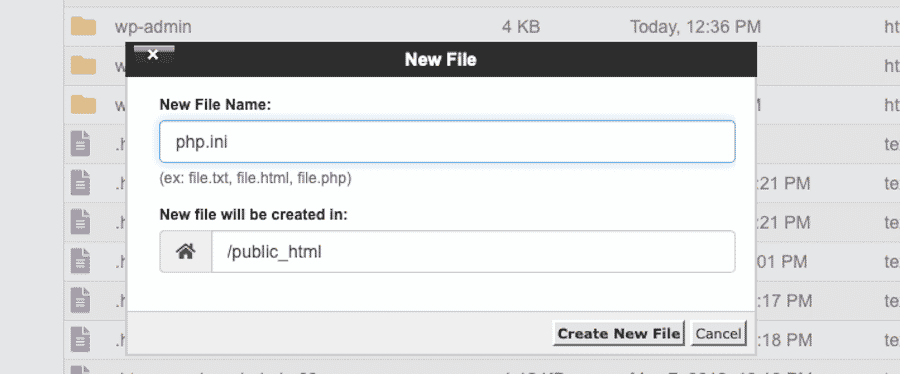
If it’s present, php.ini should be listed in this directory. If not, you may need to create this file yourself. This is commonplace for those using a shared hosting plan. In some cases, the file may exist but on shared hosting plans, it’s not editable in any way. In such cases, you could attempt to create a blank php.ini file yourself and upload it to your site’s root directory.
In cPanel, you can do this by clicking +File on the left-hand side of the top navigation bar. Then you can give your new file a name. Make sure it’s set to be added to your site’s root directory. Then click Create New File.
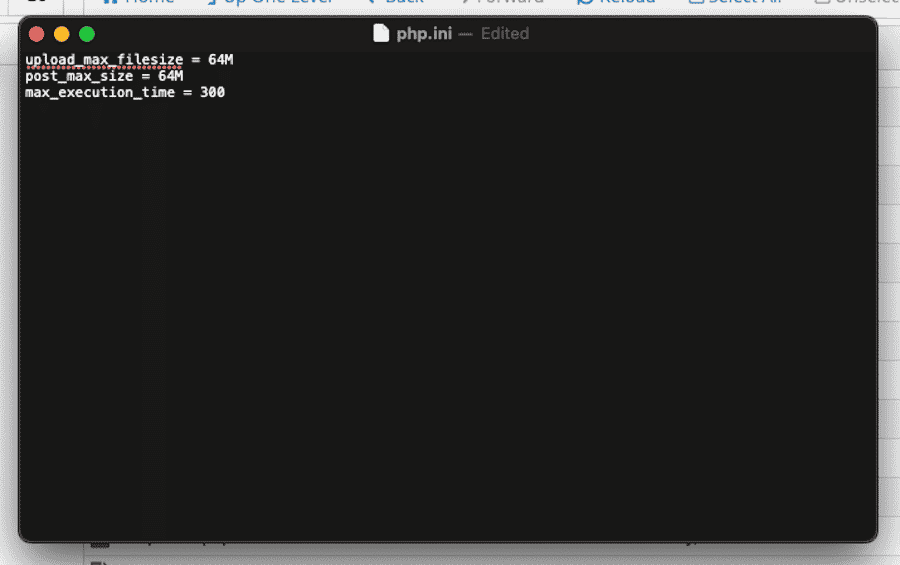
Once you’ve located the file or made it yourself, you simply need to download it and then paste a code snippet into the file with the custom values you prefer:
upload_max_filesize = 64M

post_max_size = 64M

max_execution_time = 300
It should look something like this, in a simple text file:
Save this new file and upload it back to your site’s root directory.
It should then appear in the file list as normal:

Then go back to your WordPress site and try to upload a file again (or complete whatever action that triggered the error) to confirm it’s now fixed.
Option 4: Check for Plugin Conflicts to Fix the “The Link You Followed Has Expired” WordPress Error
Now, if you’re seeing this error when not uploading files, it’s likely due to a plugin conflict of some sort. Perhaps you just updated a handful of plugins and this error appeared. It’s frustrating, to be sure, but totally fixable.
The quickest way to remedy this problem is to disable all plugins one by one and check to see if the error keeps occurring. If the error goes away after disabling a plugin, it’s likely it was caused by the plugin you just disabled. Or, it may be the result of two plugins conflicting with each other.
It’s sometimes good to follow a checklist for diagnosing plugin conflicts and issues in this way. So, if you turned off plugins A, B, C, and D, and the error disappeared after turning off plugin D, you’d then need to turn off E and turn back on C to see if the issue reappears. You’d need to go back through each of the plugins you turned off to see if there’s an interaction between them.
Or you may find that it’s just one plugin that’s to blame. In such a case, simply disable the plugin in question, roll back the update that caused the issue and reactivate it to see if the problem error returns or not. It might just be that the updated plugin hadn’t been thoroughly tested by the WordPress community yet and a future bug fix will repair the problem.
Summary
It’s disheartening to get any sort of error on your WordPress, but hopefully, you now have a clearer idea of how to handle the “The link you followed has expired” WordPress error should it arise. Just remember to backup your site first before troubleshooting and your site should be back up and running as normal shortly.
And remember, with MyKinsta, which is a part of Kinsta hosting plans, you can easily monitor for issues like expired links and so much more.