
It’s widely accepted that HTTPS is far more secure than HTTP. However, if you’re encountering the “HSTS missing from HTTPS server” message, then this protocol could be putting your site at risk.
Fortunately, it is possible to close this serious security loophole. Even if you haven’t encountered this error message, any site that redirects from HTTP to HTTPS is vulnerable to this exploit. Therefore, it’s still wise to take a proactive approach and fix this flaw.
In this post, we’ll explore what the “HSTS missing from HTTP server” error is and why it’s such a huge concern for any website that uses HTTPS redirects. We’ll then show you how to fix this problem and foil the hackers, in five easy steps.
Check Out Our Video Guide to Fixing the “HSTS Missing From HTTP Server” Error
An Introduction to the “HSTS Missing From HTTP Server” Error
To help keep visitors safe, it’s not uncommon for sites to perform HTTPS redirection. This redirection forwards visitors from an HTTP to an HTTPS version of the website.
A user may explicitly enter HTTP into their browser’s address bar, or follow a link that points to an HTTP version of the site. In these scenarios, a redirect can prevent malicious third parties from stealing the visitor’s data.
However, no technology is perfect. If your site does use HTTPS redirects, then you may be susceptible to a Man-In-The-Middle (MITM) attack known as Secure Sockets Layer (SSL) Stripping. As part of this attack, the hacker will block the redirection request and prevent the browser from loading your site over the HTTPS protocol. As a result, the visitor will access your website via HTTP, which makes it much easier for hackers to steal data.
Alternatively, the attacker might intercept the redirect and forward visitors to a clone version of your site. At this point, the hacker can steal any data that the user shares, including passwords and payment information. Some hackers might also try to trick visitors into downloading malicious software.
It’s also possible for hackers to steal a session cookie over an unsecured connection, in an attack known as cookie hijacking. These cookies can contain a wealth of information, including usernames, passwords, and even credit card details.
To protect your visitors against these attacks, we recommend enabling HTTP Strict Transport Security (HSTS). This protocol forces the browser to ignore any direct requests and load your site over HTTPS.
The HSTS Protocol (and Why You May Want to Use It)
HSTS is a server directive and web security policy. Specified by the Internet Engineering Task Force (IETF) in RFC 6797, HSTS sets regulations for how user agents and web browsers should handle their connections for a site running over HTTPS.
Sometimes, an IT security scan might report that your site is “missing HSTS” or “HTTP Strict Transport Security” headers. If you encounter this error, then your site isn’t using HSTS, which means your HTTPS redirects may be putting your visitors at risk.
This is classed as a medium-risk vulnerability. However, it’s incredibly common and represents low hanging fruit for attackers. If you encounter this error, then it’s crucial you address it.
By adding the HSTS security header to your server, you can force your site to load on the HTTPS protocol. This can help protect your site against cookie hijacking and protocol attacks. Since you’re potentially removing a redirect from the loading procedure, your site may also load faster.
There’s a chance you may not have encountered this error but are still concerned about HSTS. If you’re unsure whether you have HSTS enabled, you can scan your site using a tool such as Security Headers. Simply enter your website’s URL, and then click on Scan.
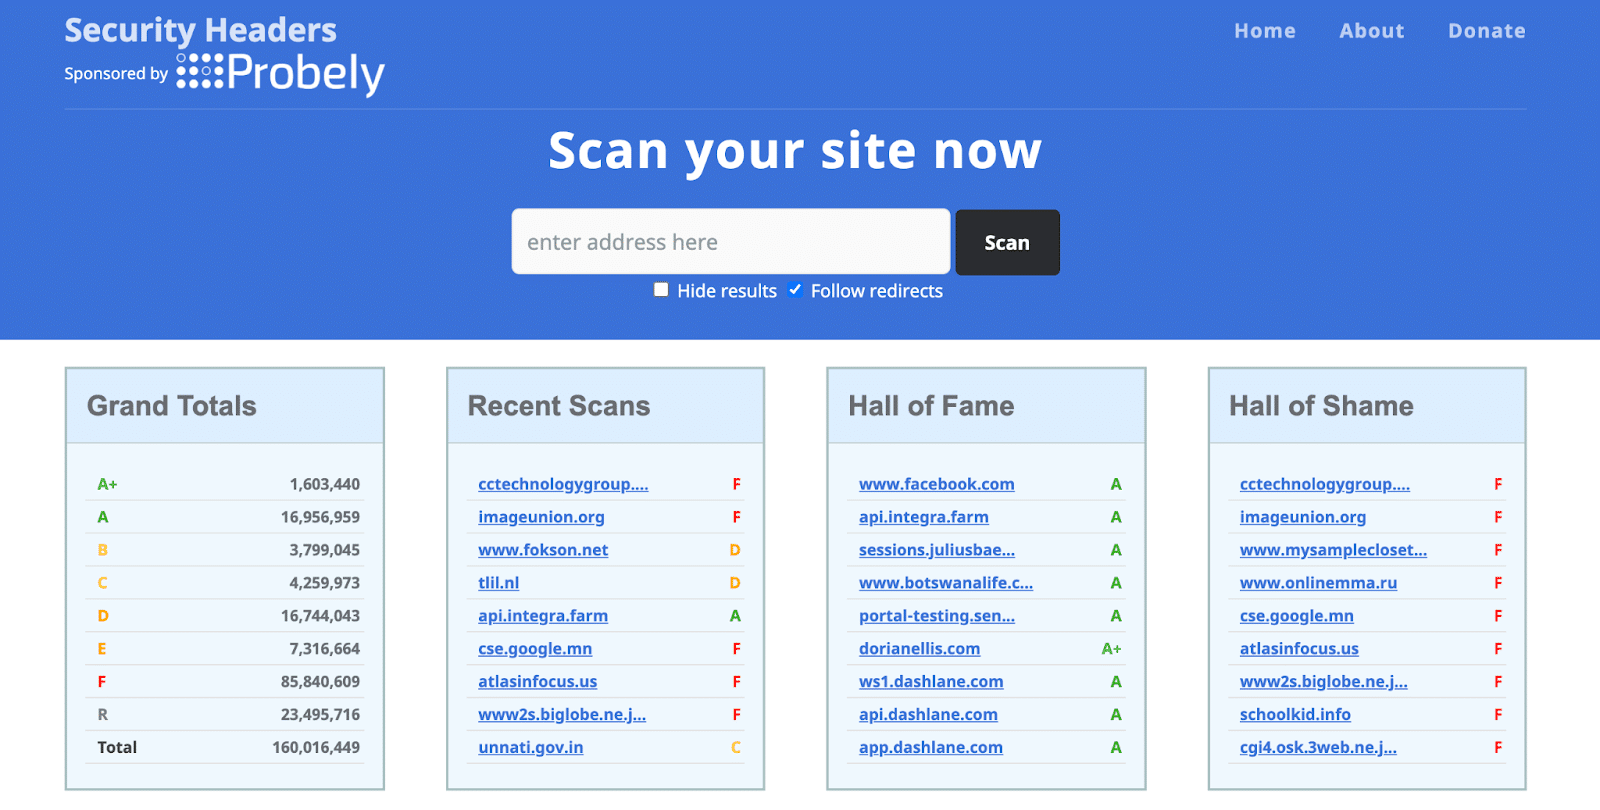
Security Headers will check your site and display all of the applied headers in the Headers section. If Strict-Transport-Security makes an appearance, then your site is protected. However, if this header isn’t listed, then we have some work to do.
How To Fix the “HSTS Missing From HTTP Server” Error (In 5 Steps)
For hackers, the HSTS vulnerability is the perfect opportunity to steal data or trick your visitors into performing dangerous actions. Here’s how to enable the HSTS policy and keep your site safe.
Step 1: Create a Manual Backup
Enabling the HSTS policy represents a significant change to your website. For this reason, we recommend creating an on-demand backup before proceeding. This gives you the option to restore your site in the unlikely event that you encounter any issues when enabling HSTS.
At Kinsta, we provide daily automatic WordPress backups. However, it’s still smart to create a manual backup before making any major changes. To create this safety net, log into your MyKinsta dashboard and select the website in question. Then, click on the Backups tab.

Next, select the Manual tab. Find the Backup now button, and give it a click.

You can now add a short note to your backup. This can help you identify it in your MyKinsta dashboard.
Finally, click on Create backup. We’ll now generate your backup and add it to your dashboard.
Step 2: Set Up an HTTP to HTTPS Redirect
Before enabling the HSTS policy, you’ll need to deploy an SSL certificate to your website. At Kinsta, we automatically protect all verified domains with our Cloudflare integration. This includes free SSL certificates with wildcard support. Unless you specifically require a custom certificate, you won’t have to worry about configuring SSL manually.
Next, you’ll need to set up an HTTP to HTTPS redirect, if you haven’t already. To create this redirection, simply log into your MyKinsta dashboard and select your website. Next, click on Tools.

In the Force HTTPS section, click on the Enable button. You can now choose to use your primary domain as the destination, or request to use an alternative domain. After making this decision, select Force HTTPS.
Just be aware that if you use any third-party proxies or set up any custom HTTPS rules, then forcing HTTPS may result in errors or other strange behavior. If you do encounter any issues, you can always contact our support team who will be happy to help.
If your web server is running Nginx, then you can redirect all of your HTTP traffic to HTTPS. Simply add the following code to your Nginx configuration file:
server {

listen 80;

server_name domain.com www.domain.com;

return 301 https://domain.com$request_uri;

}
Alternatively, if you’re a Kinsta customer, then we can make this change for you. Just open a support ticket and let us know which domain needs to be directed, and we’ll handle the rest.
Step 3: Add the HSTS Header
There are various types of directives and levels of security that you can apply to your HSTS header. However, we recommend adding the max-age directive, as this defines the time in seconds for which the web server should deliver via HTTPS. This blocks access to pages or subdomains that can only be served over HTTP.
If you’re using an Apache server, you’ll need to open your virtual hosts file. You can then add the following:
Header always set Strict-Transport-Security max-age=31536000At Kinsta, we run Nginx servers. If you’re a Kinsta customer, then you can add the following to your Nginx configuration file:
add_header Strict-Transport-Security: max-age=31536000; includeSubDomains; preloadAs always, we can do all of the hard work for you. Simply open up a support ticket requesting that we add an HSTS header to your site. Our team will be happy to make this change to your Nginx file.
Step 4: Submit Your Site To the HSTS Preload List
There is one major downside to the HSTS policy. A browser has to encounter the HSTS header at least once before it can use it for future visits. This means your audience will need to complete the HTTP to HTTPS redirection process at least once. During this time, they will be vulnerable to protocol-based attacks.
In an attempt to close this security loophole, Google created the HSTS preload list. This lists all of the websites that support HSTS, which is then hardcoded into Chrome. By adding your site to this list, visitors will no longer have to complete an initial HTTPS redirection.
Most of the major internet browsers have their own HSTS preload lists, which are based on Chrome’s list. To be eligible for this list, your site must meet the submission criteria. The good news is that we’ve already covered all of these requirements, so you can go ahead and submit your site to the HSTS preload list.
Once you make it onto this list, some Search Engine Optimization (SEO) tools may warn you about 307 redirects. These redirects occur when someone attempts to access your site via an unsecured HTTP protocol. This triggers a 307 redirect instead of a permanent 301 redirect. If you’re concerned about this, you can use httpstatus to scan your site and verify whether a 301 redirect is occurring.
Step 5. Verify Your Strict-Transport-Security Header
After adding the HSTS header, it’s a good idea to test that it’s functioning correctly. You can perform this check using your browser’s built-in web tools.
The steps will vary depending on your chosen web browser. To perform this, check in Google Chrome DevTools, navigate to the webpage that you want to test. You can then click on any blank area, and select Inspect.

In the subsequent panel, select the Network tab. You can then check the headers section, which should contain the following:
strict-transport-security: max-age=31536000Alternatively, you can scan your site using the Security Headers tool. As before, simply enter your website’s URL, and then click on Scan. This will return a Security Report, which should contain a strict-transport-security tag. If this tag is present, then your HSTS header is now set up correctly, and you’ve successfully closed the HTTPS redirect loophole.
Summary
Redirecting from HTTP to HTTPS is a security best practice. However, no technology is perfect and this redirect may make your site more susceptible to SSL attacks.
With this in mind, let’s recap how to fix the “HSTS missing from HTTP server” error:
- Create a manual backup of your site.
- Set up an HTTP to HTTPS redirect.
- Add the HSTS header.
- Submit your site to the HSTS preload list.
- Verify your strict-transport-security header.
Resolving error messages can be a time-consuming and frustrating process. However, our team of experts is here to help! Around-the-clock support is included in all of our Kinsta plans, so you can focus on what really matters: growing your website.


